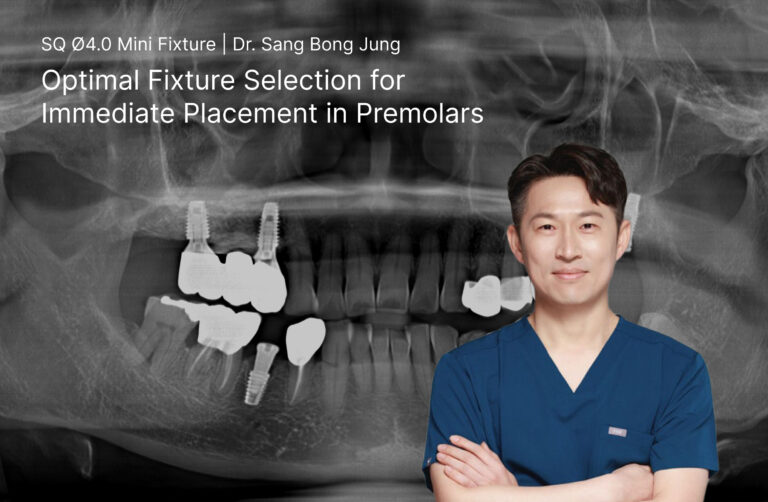
In this case, Dr. Sang Bong Jung of Nul Purun Dental Clinic in Busan, South Korea presents a case of immediate implant placement in the mandibular right second premolar. The procedure involved a connective tissue (C.T) graft and xenograft-based gap filling to preserve volume and soft tissue architecture.
Case Background
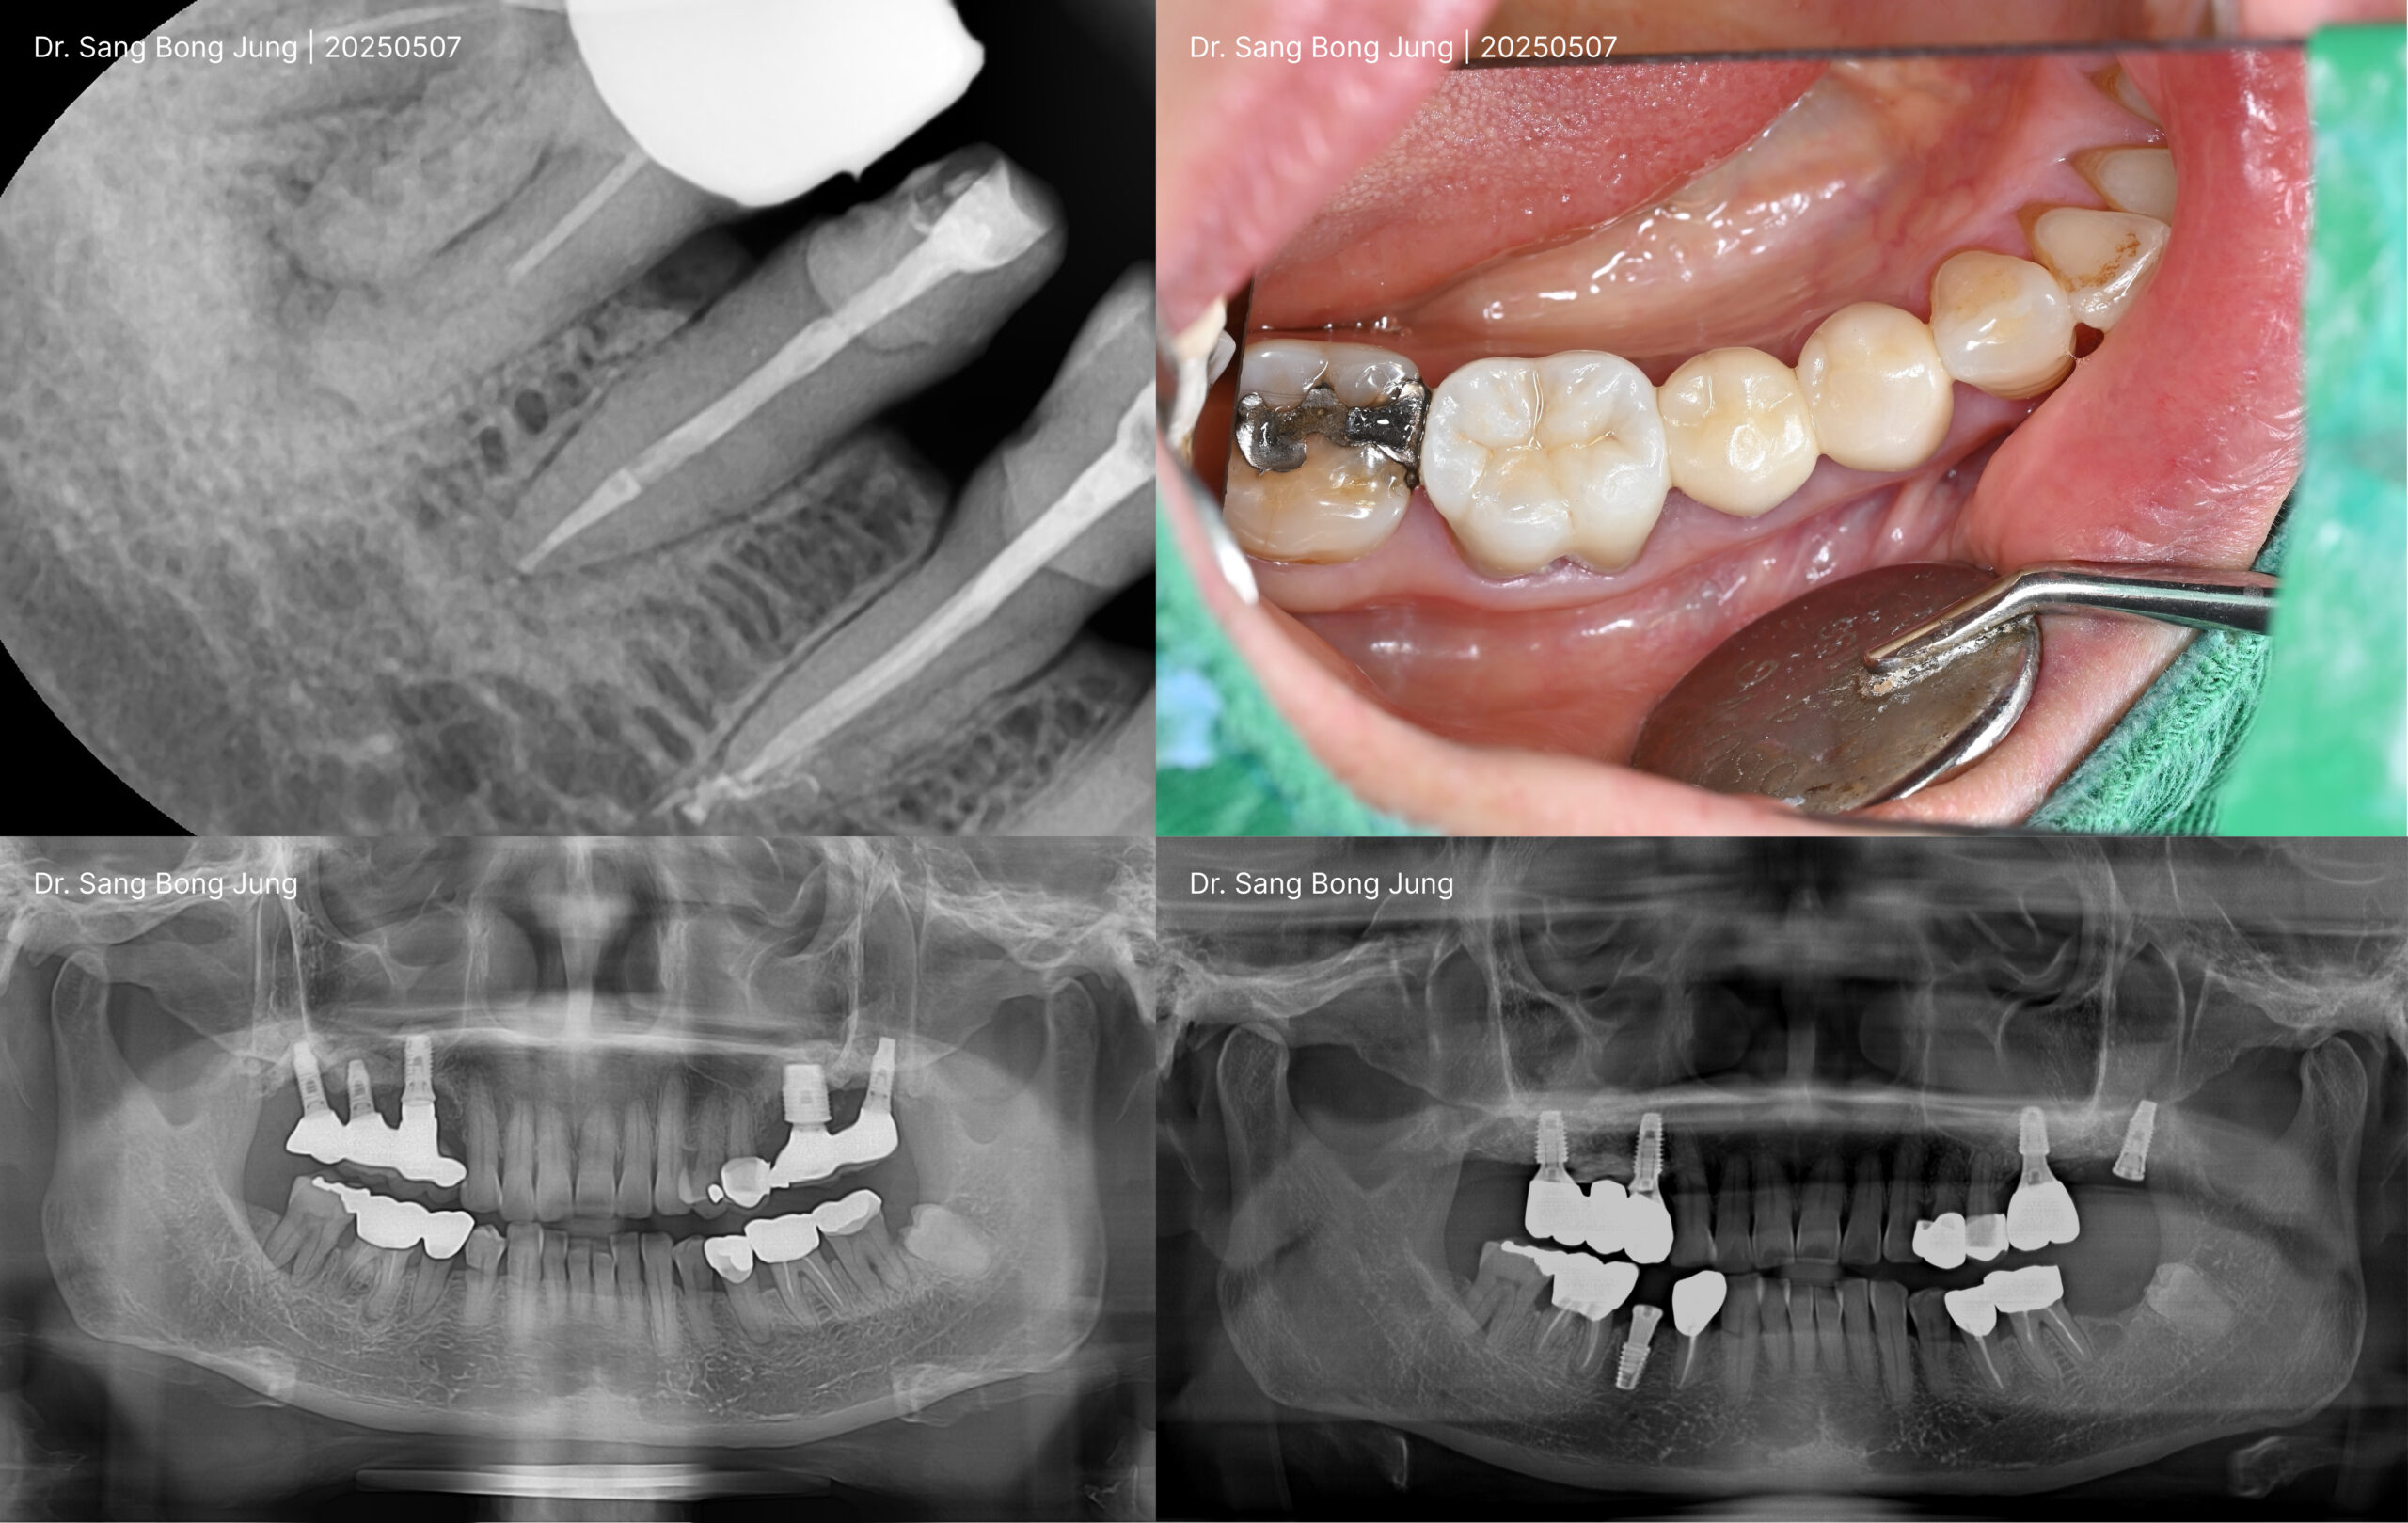
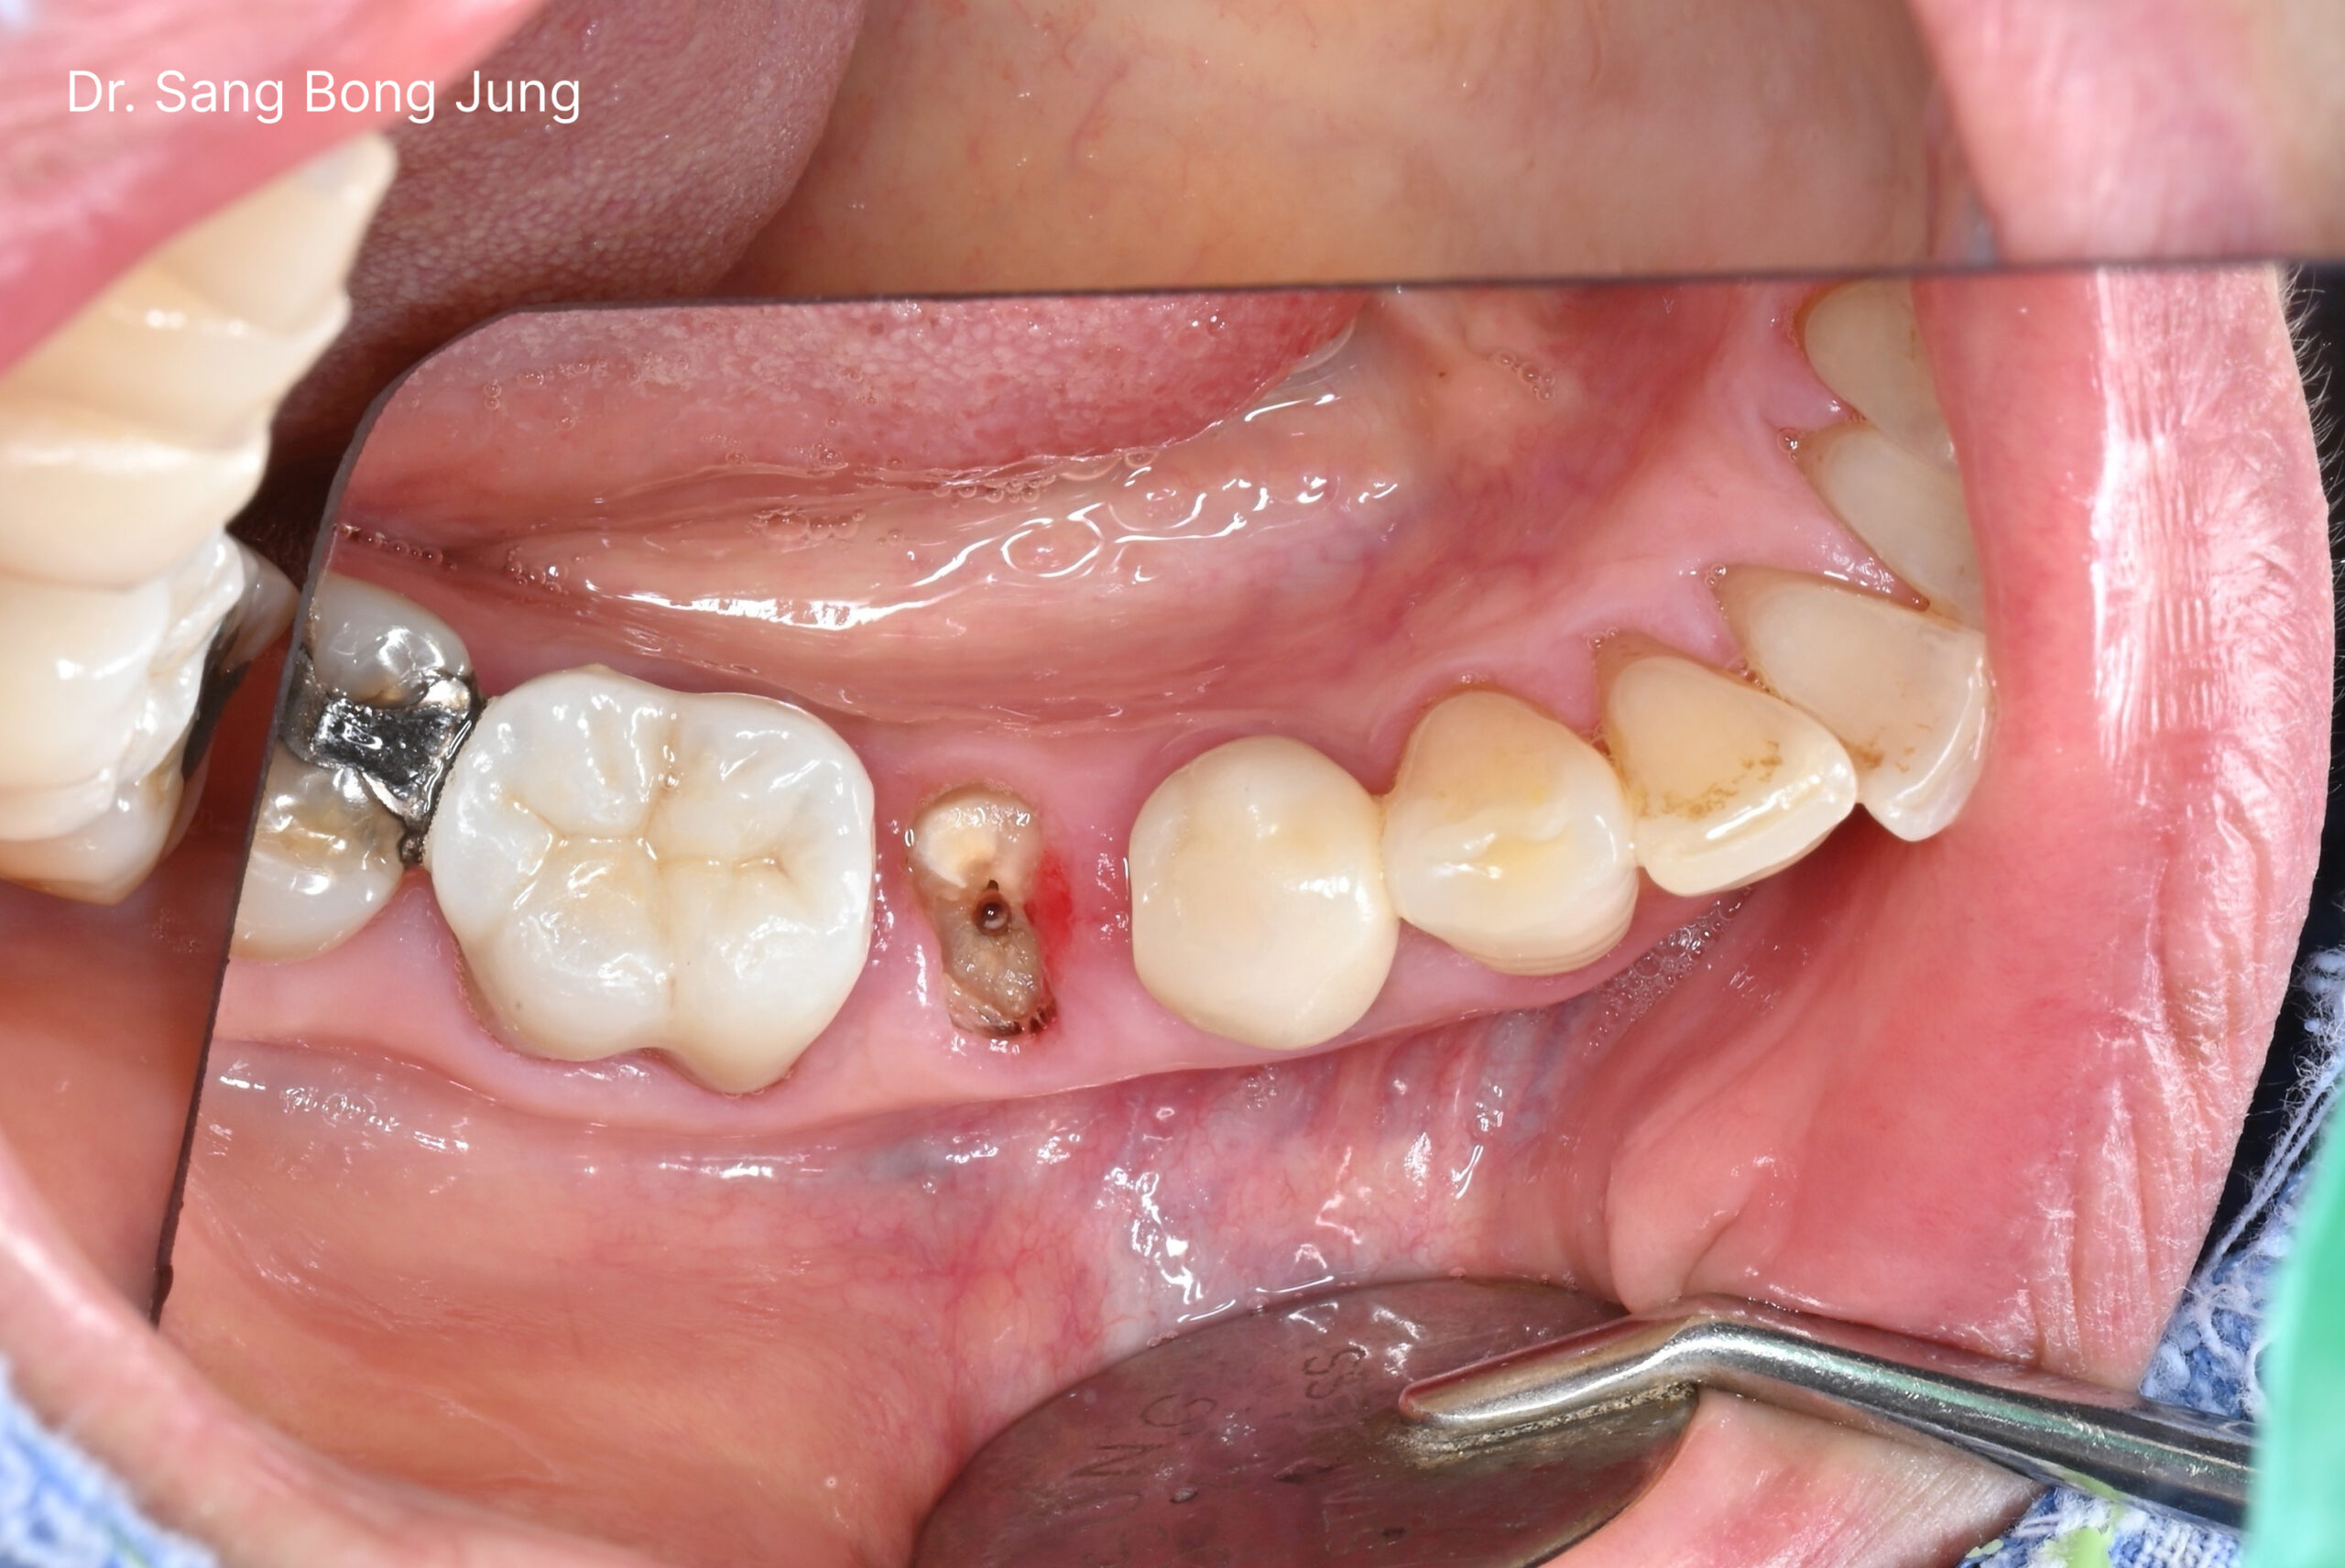
The patient previously received root canal treatment and a crown on the lower right second premolar due to a periapical lesion diagnosed six years ago. The restoration had functioned without issue until May 5, 2025, when the crown fractured. The patient visited Dr. Jung’s clinic on May 7, 2025.
Initial Assessment & Treatment Plan
Clinical and radiographic evaluation revealed healthy surrounding soft and hard tissue. Based on this, Dr. Jung opted for extraction and immediate implant placement to minimize bone loss and reduce treatment time.
Surgical Procedure for Immediate Implant Placement
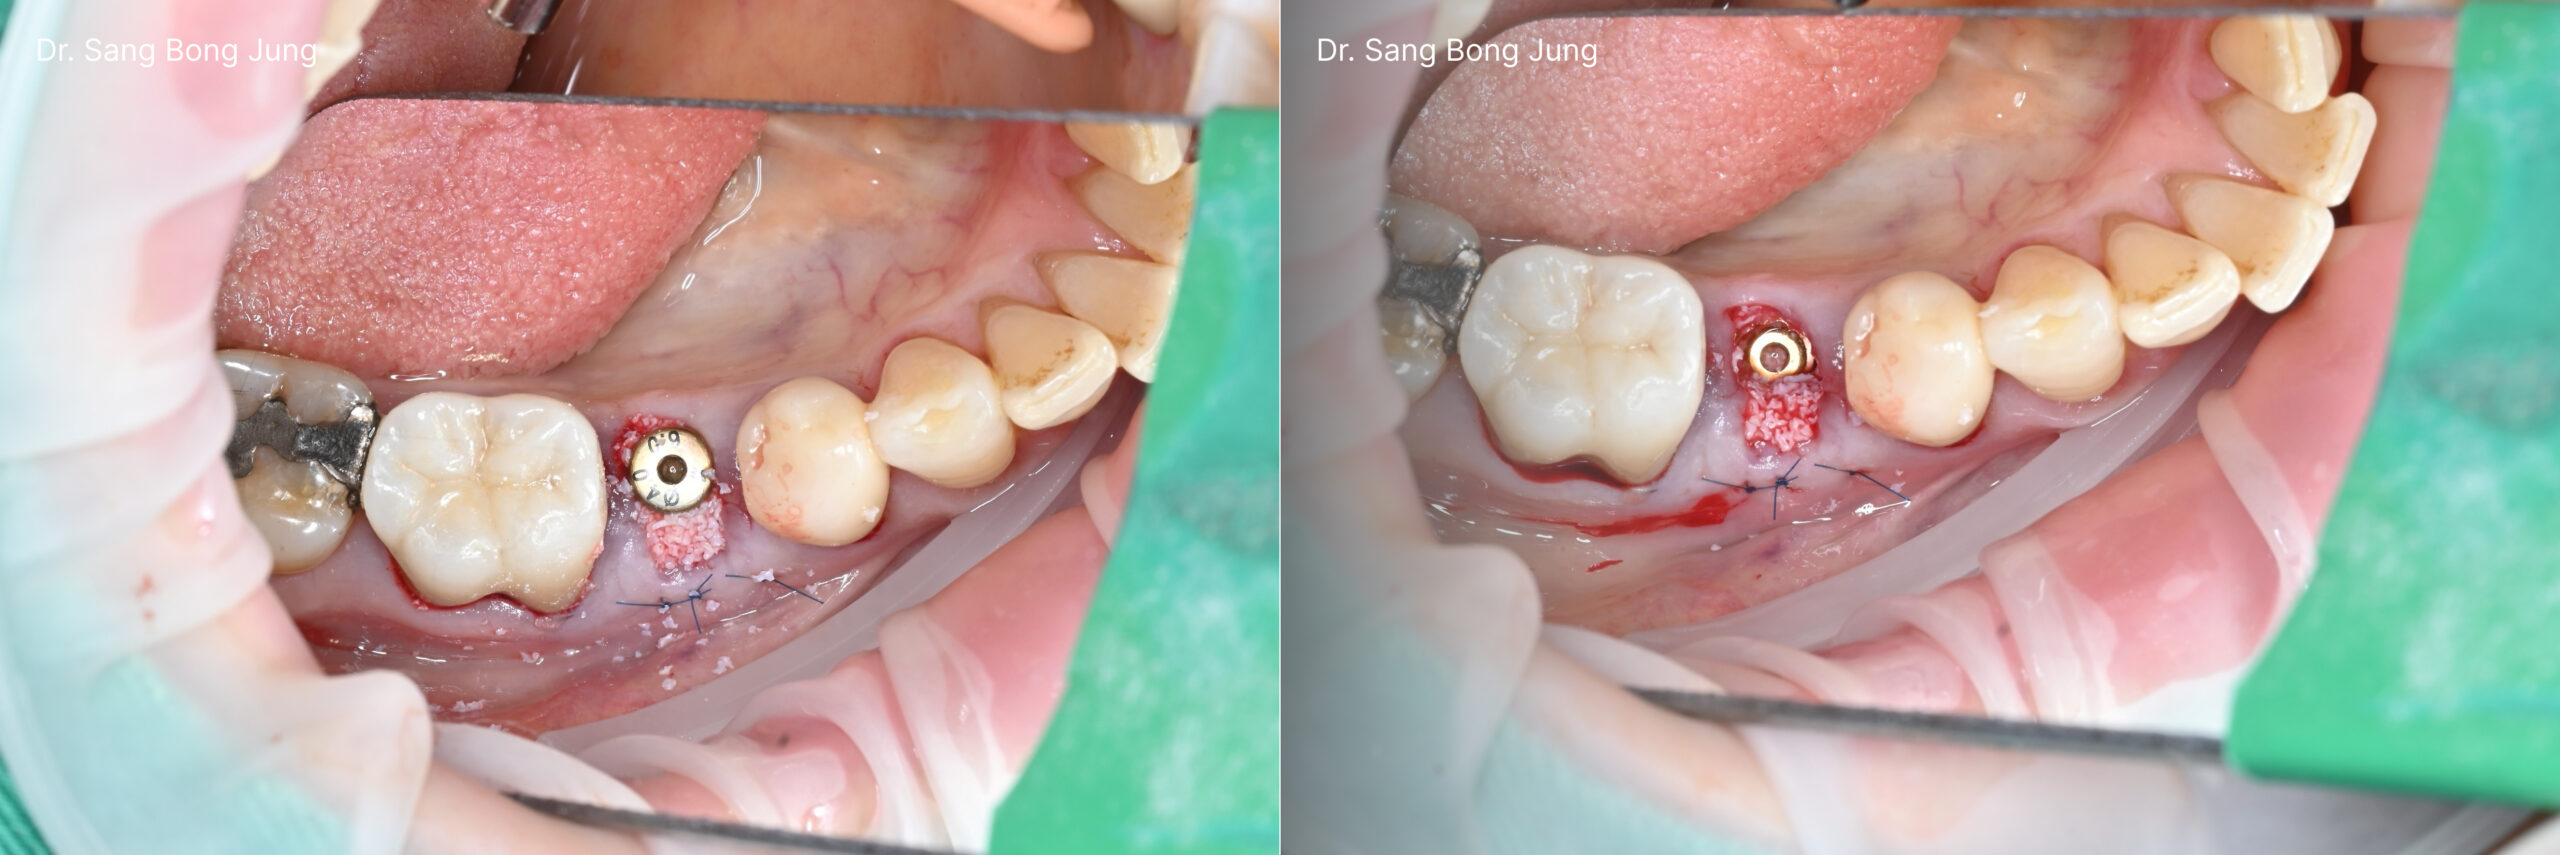
- Tooth Extraction & Site Preparation
-
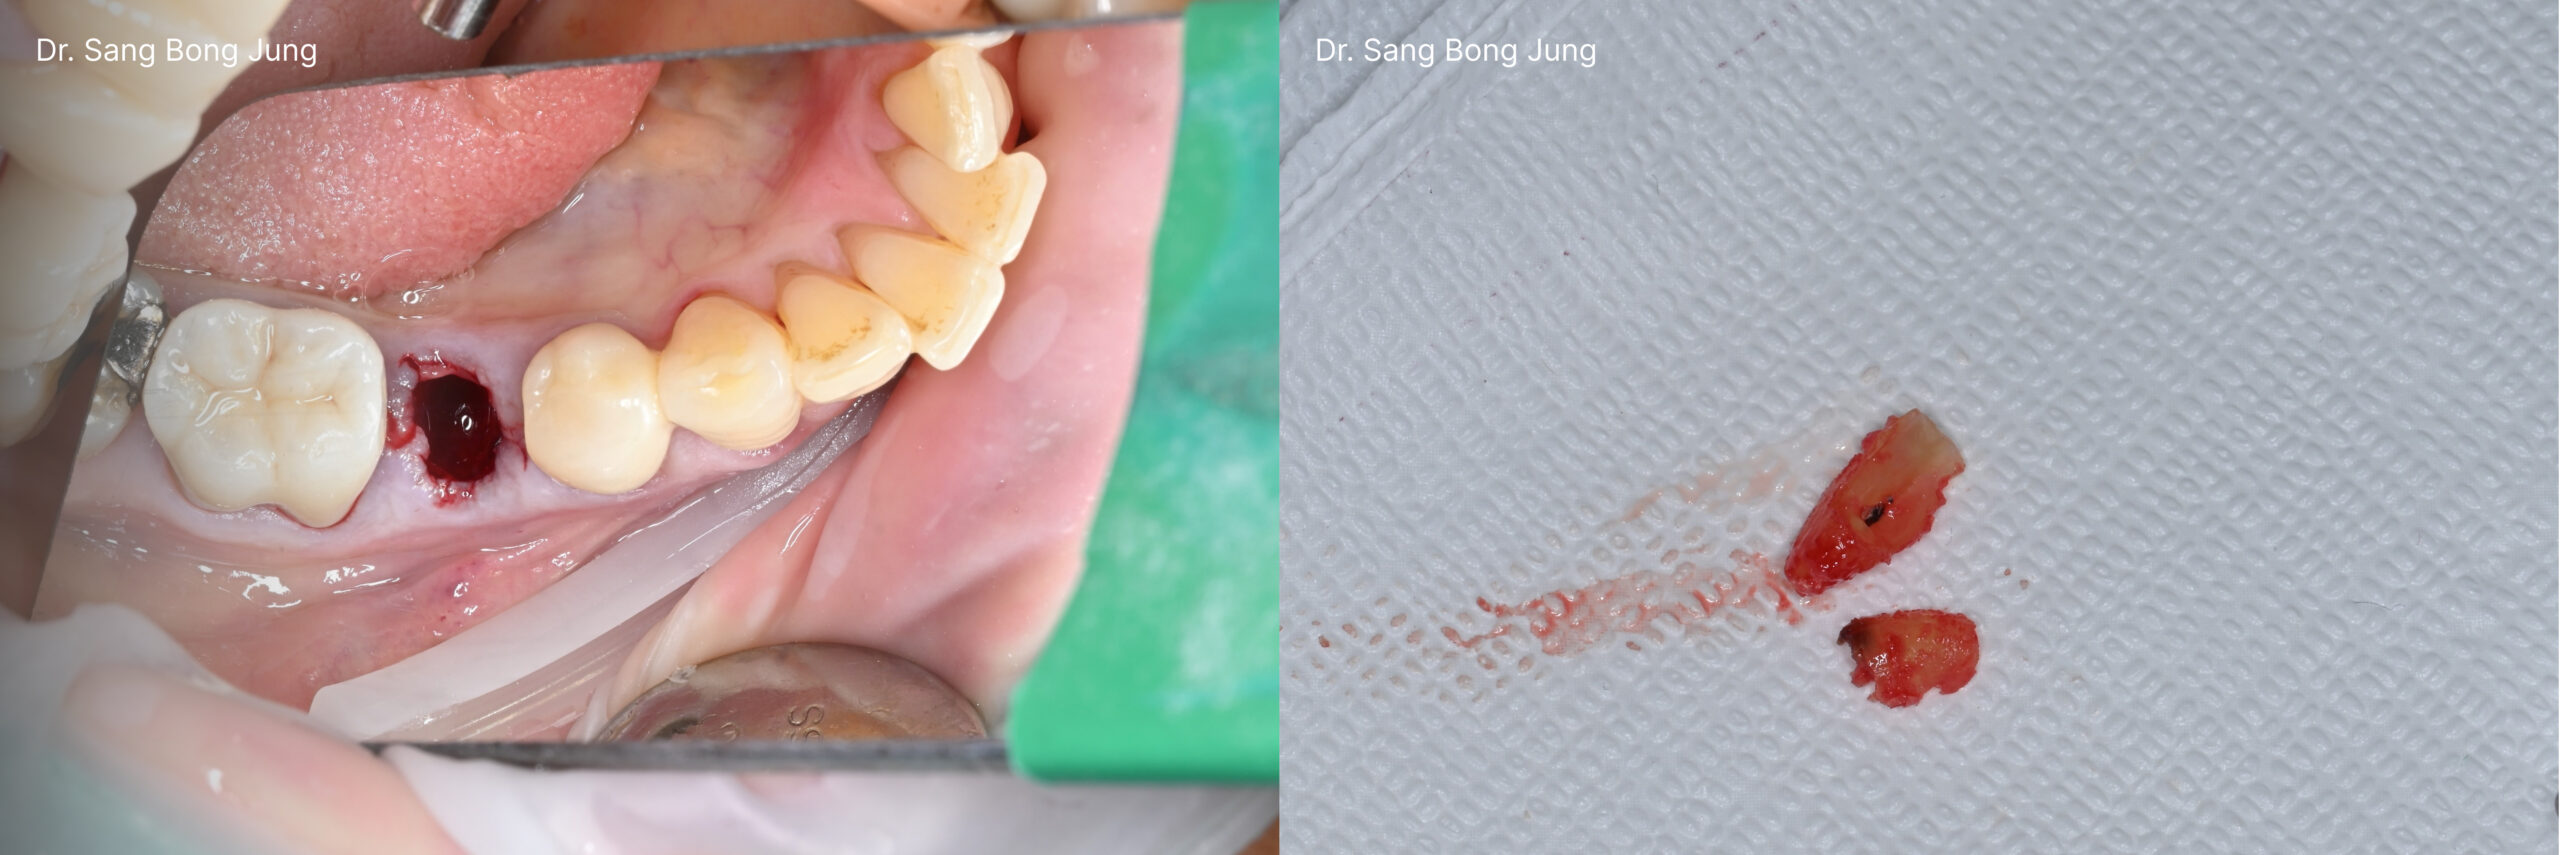
- The tooth was atraumatically extracted, and the socket was debrided using a surgical bone curette. The surrounding bone walls were found to be intact and in good condition.
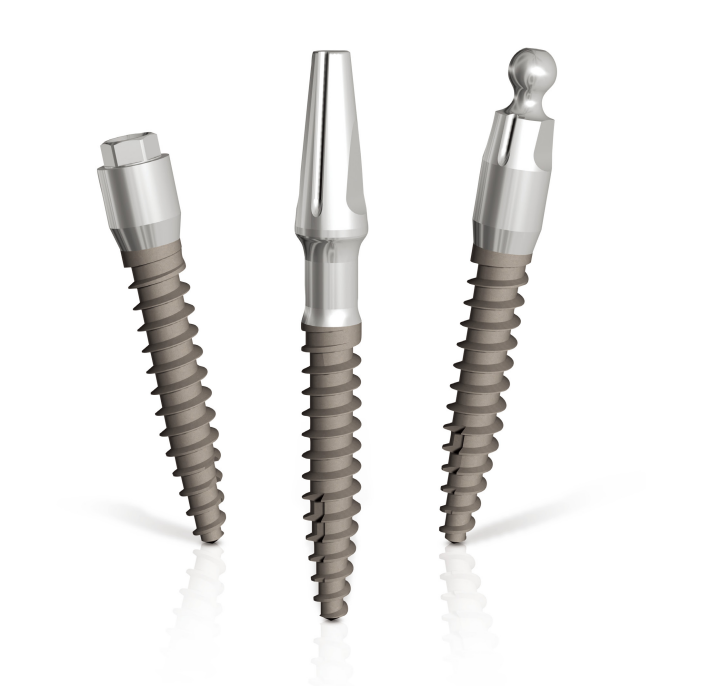
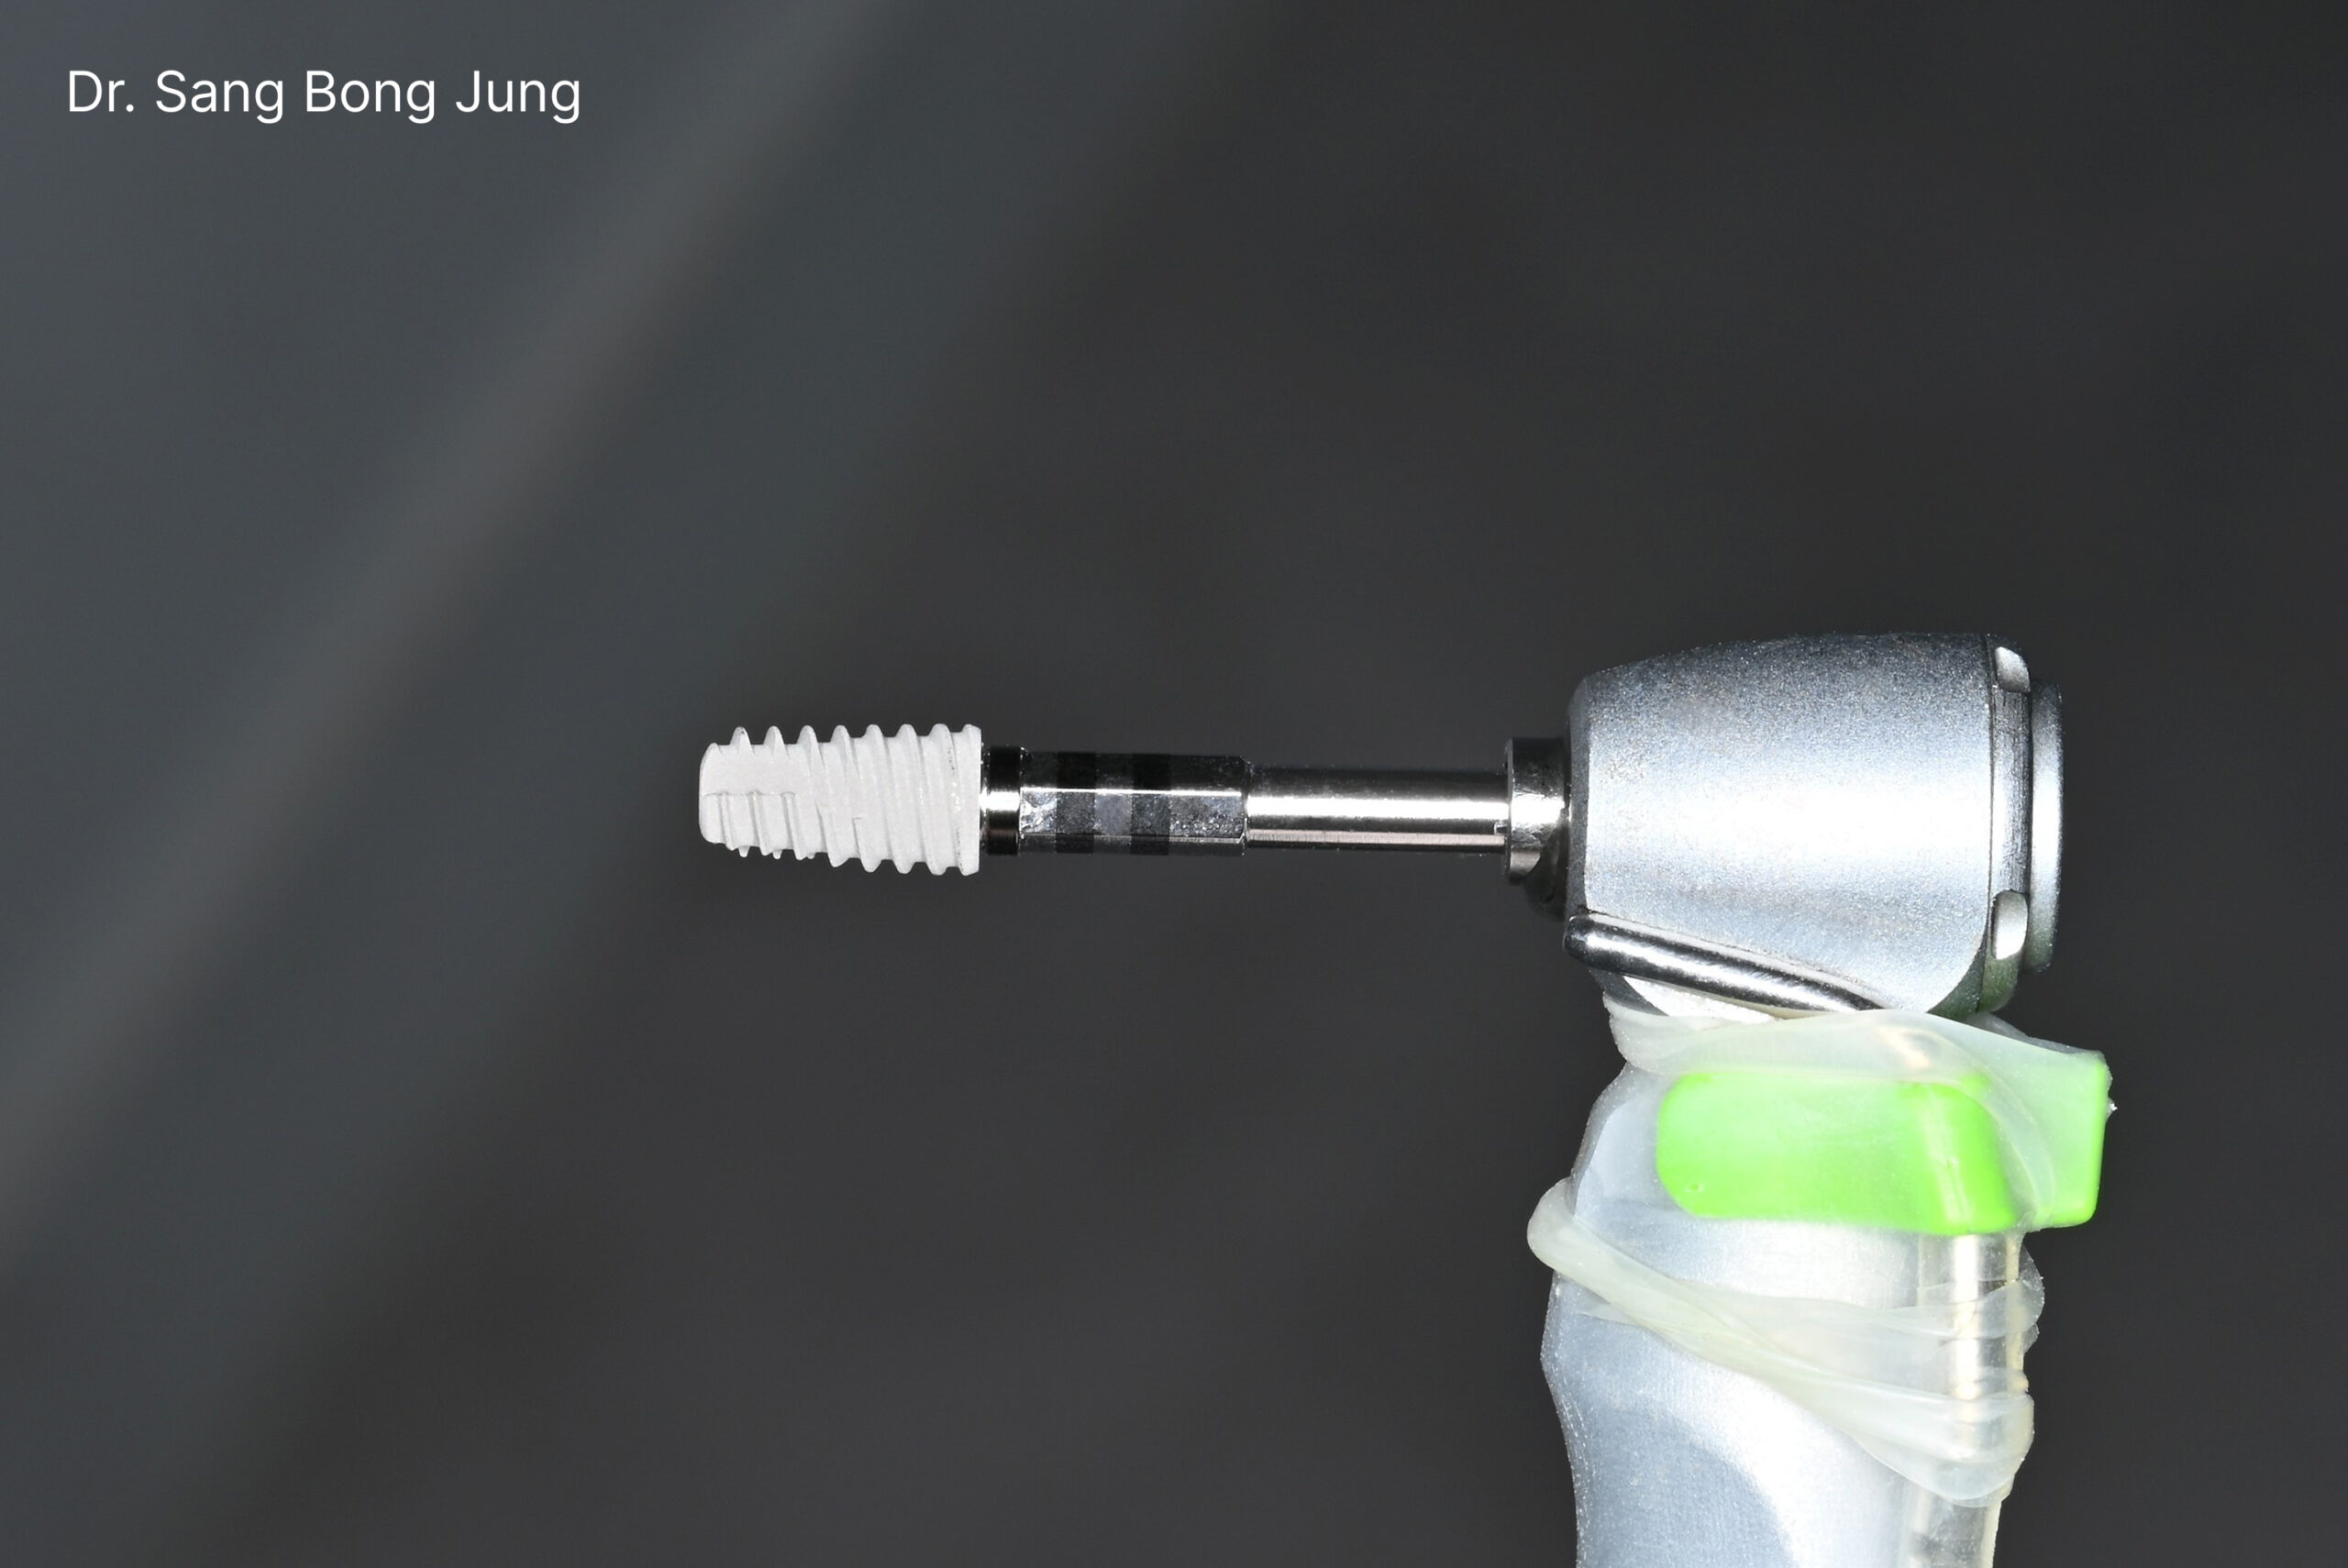
- Drilling & Fixture Placement
-
- Drilling was performed using the Dentis SQ Surgical Kit. A Ø4.0mm, 8mm length SQ fixture with a mini connection was placed directly into the prepared site.
-
- The fixture includes 1mm interval depth markings, allowing precise control of insertion depth. In this case, the implant was placed with its top positioned 5mm apical to the gingival margin, aligning with the intended plan.
- Benefits of the Mini Connection

-
- The thicker fixture top improves mechanical stability.
-
- The smaller diameter provides ample space around the implant for graft material, aiding both volume maintenance and graft stability.
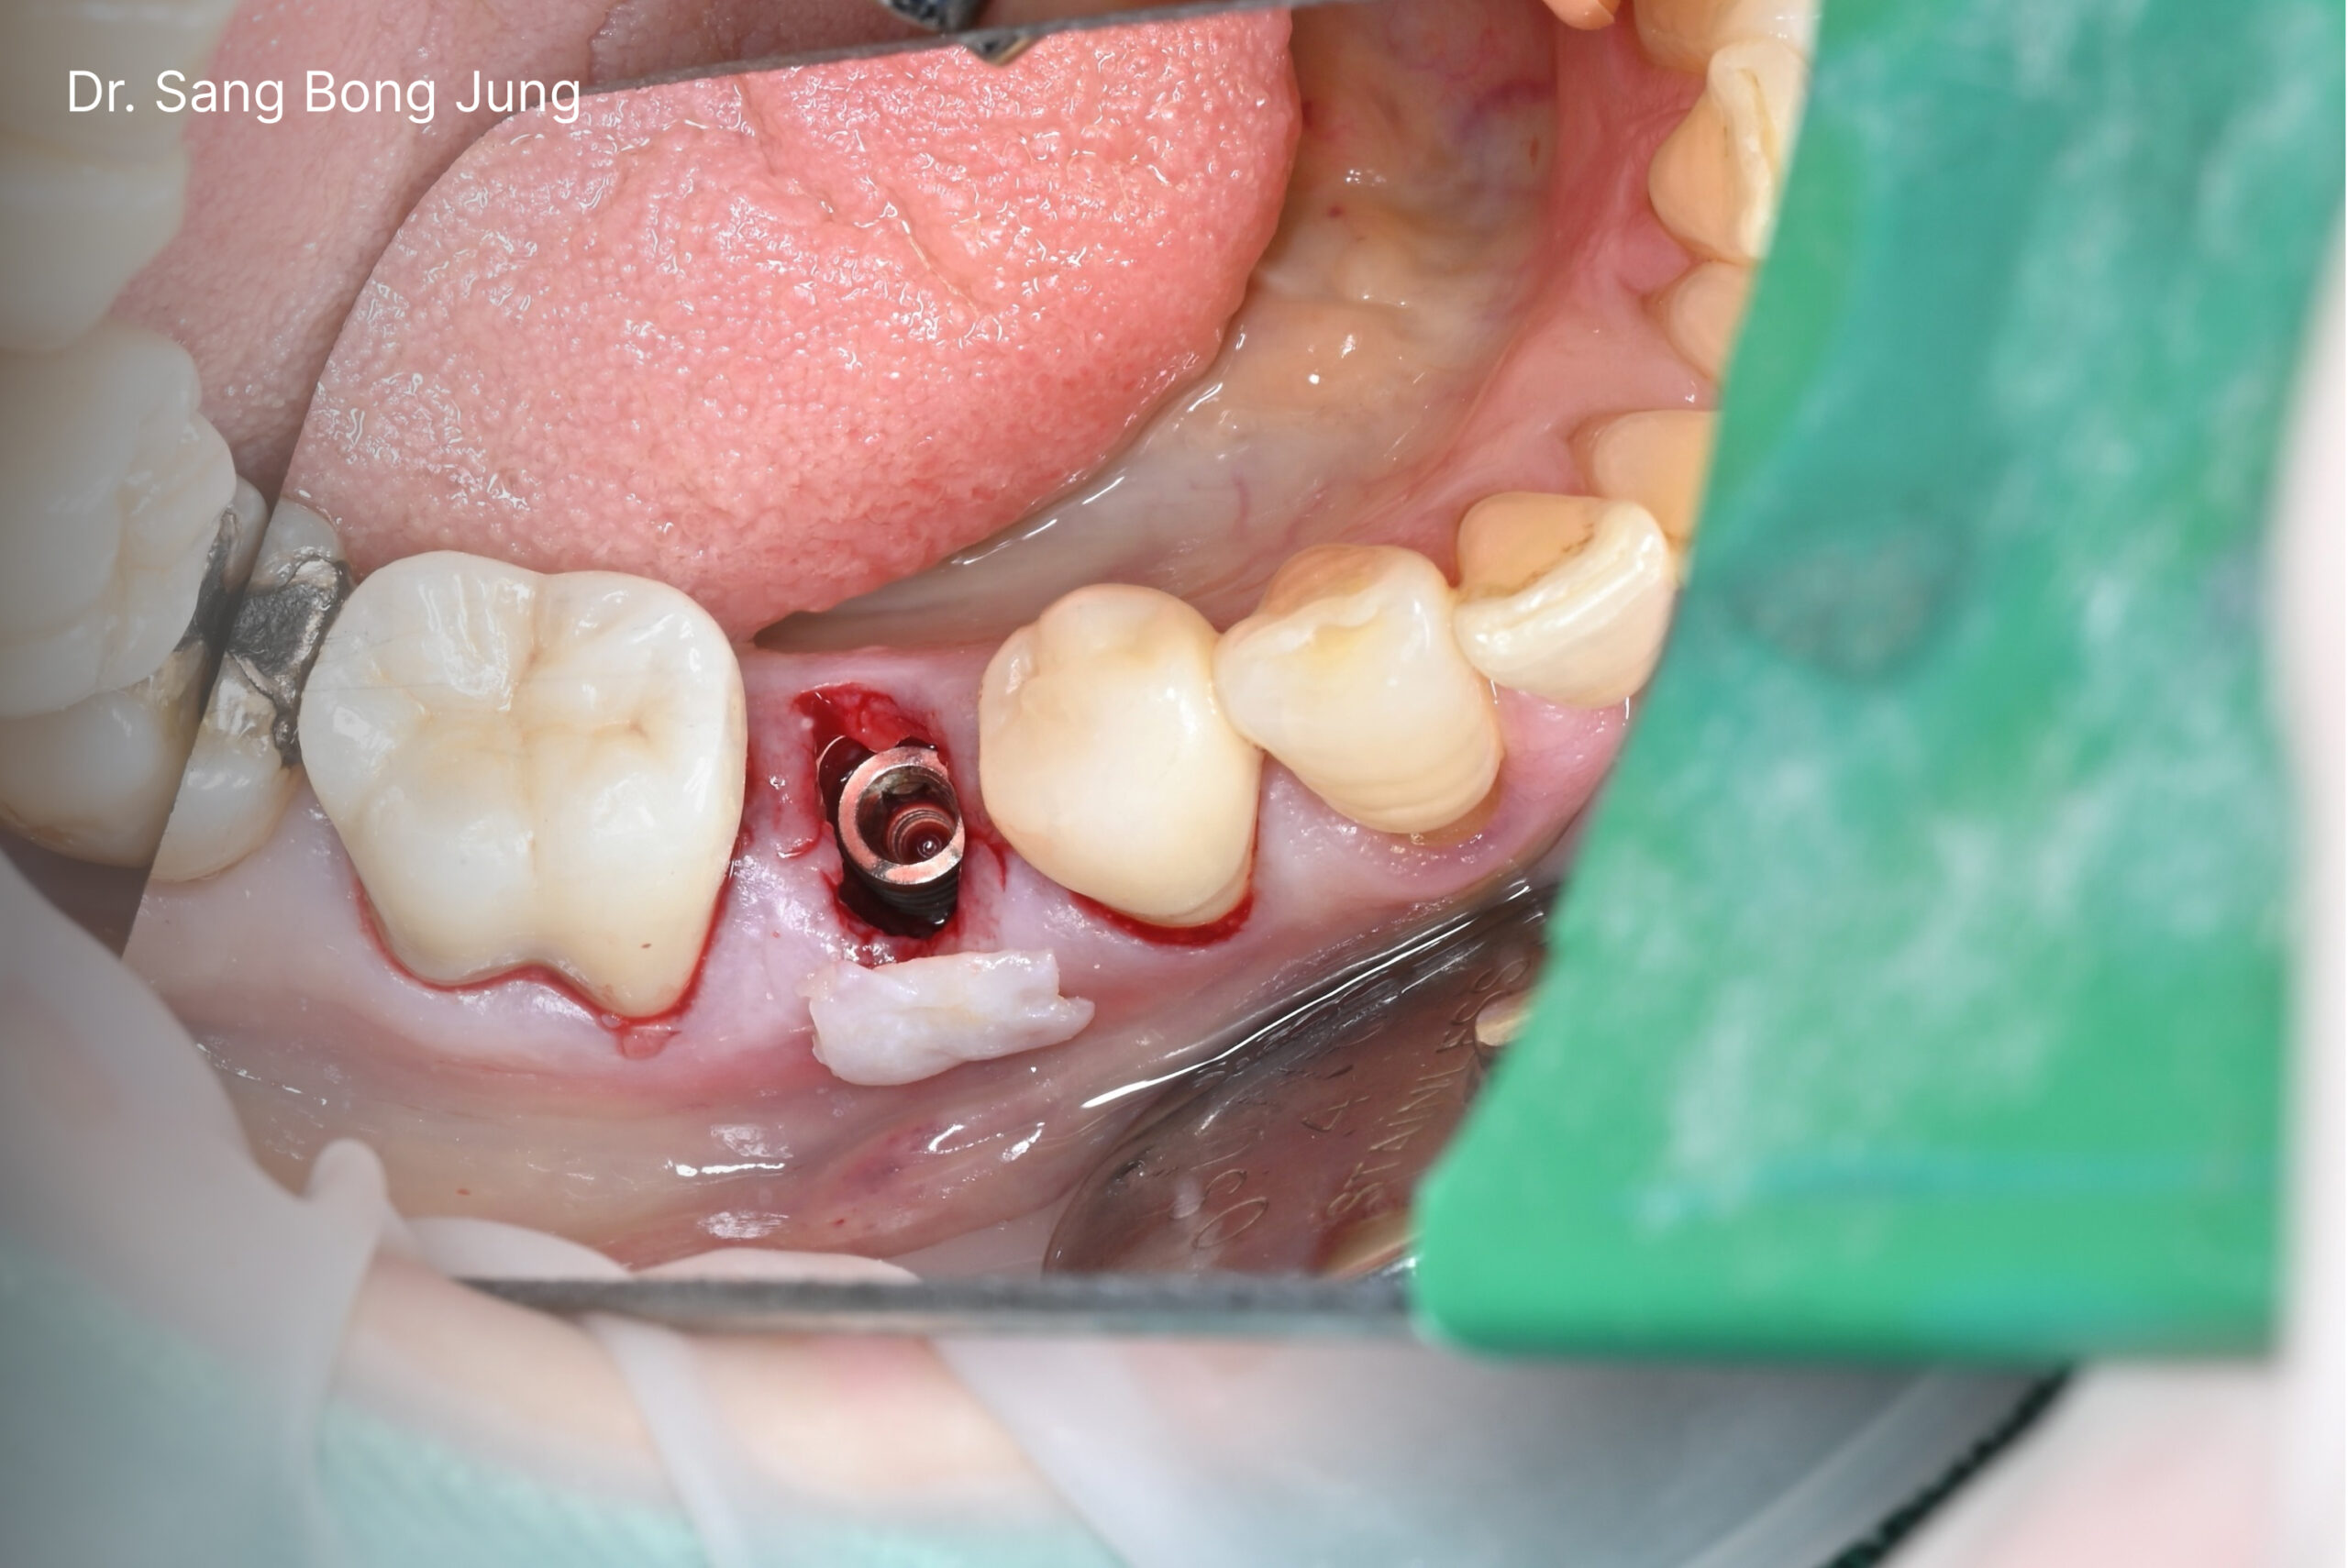
- Soft Tissue Management
-
- Since the buccal bone plate typically resorbs regardless of gap filling, Dr. Jung anticipated a potential mid-buccal recession. To proactively address this, a connective tissue graft was placed between the gingiva and buccal bone plate and secured with sutures.
- Gap Filling & Graft Materials
-
- A cover screw was temporarily inserted to prevent bone graft material from entering the fixture. The peri-implant gap was then filled with a xenograft, selected for its low resorption rate, which contributes to long-term volume preservation.
- Final Grafting & Closure
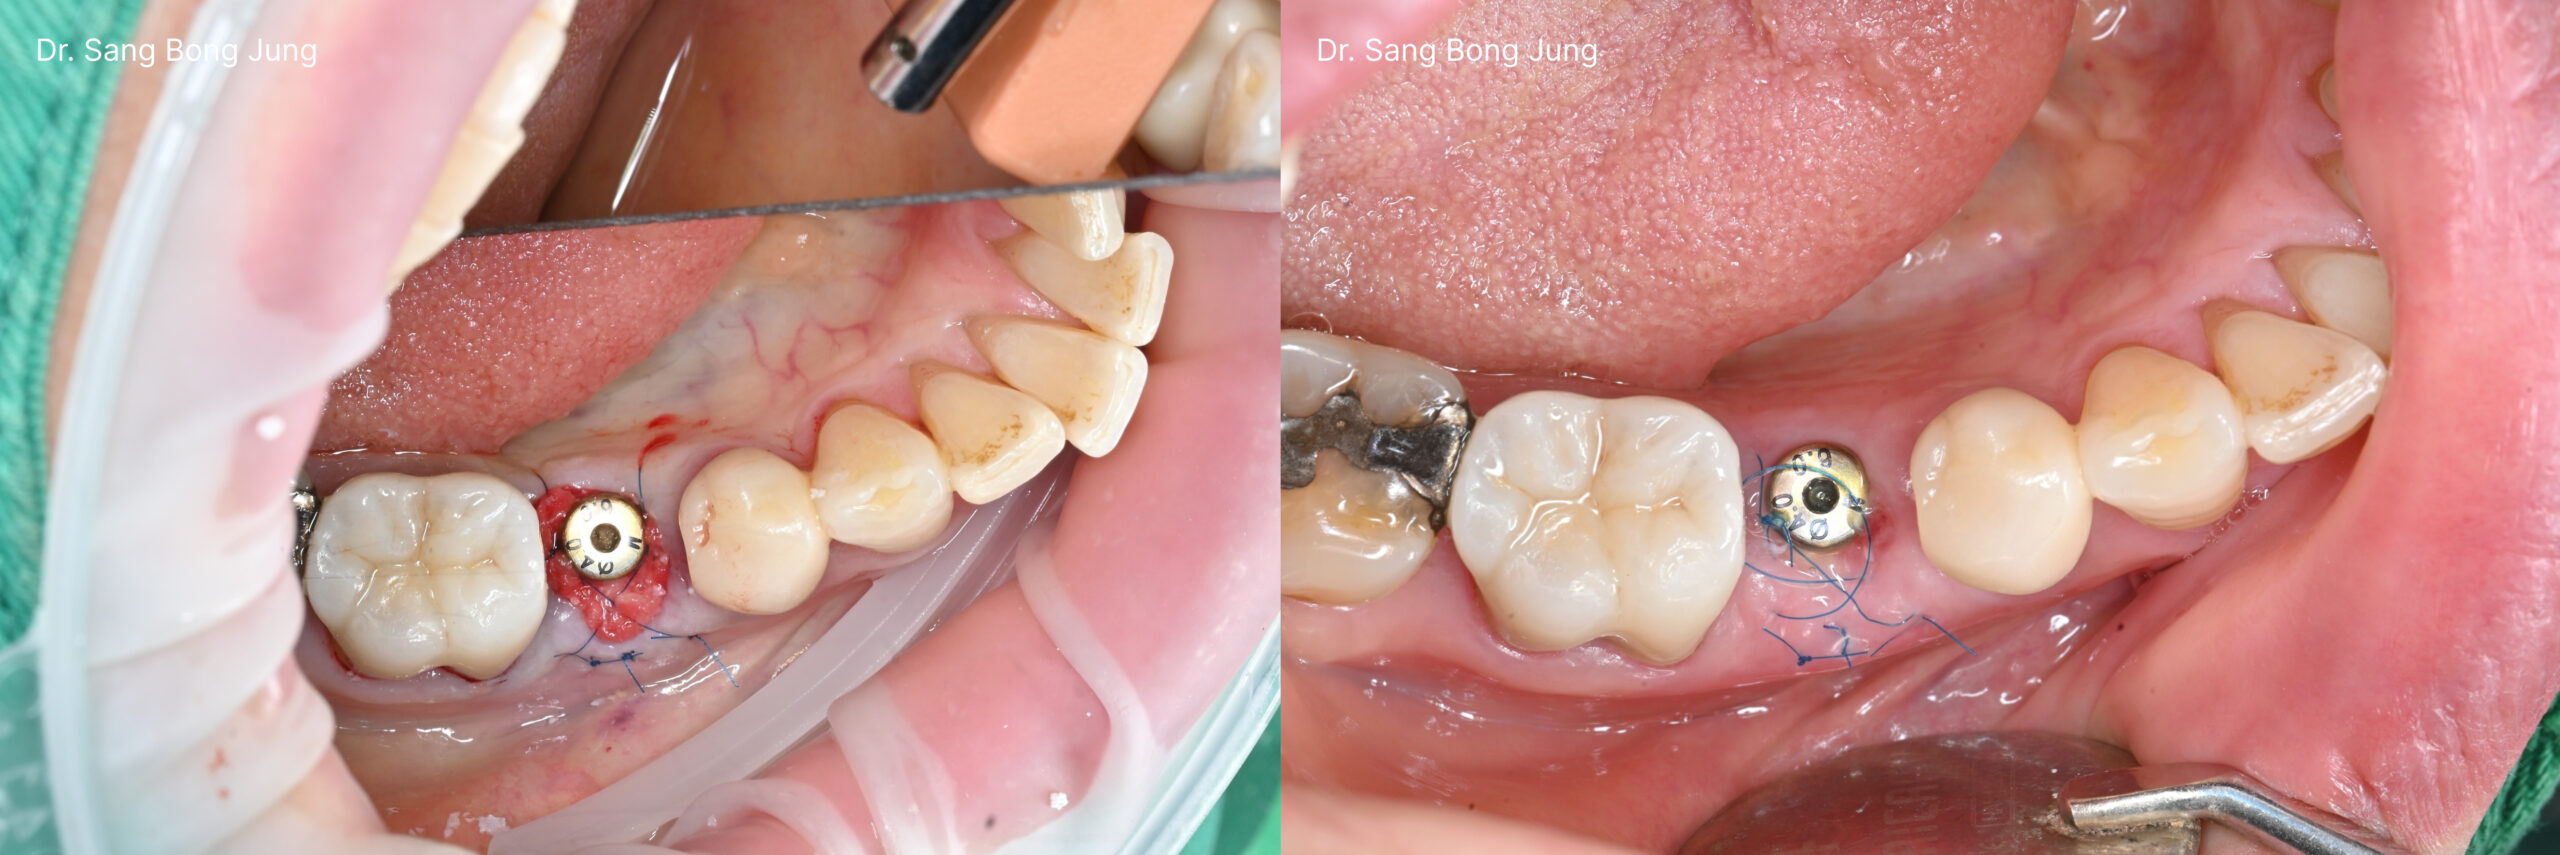
-
- The cover screw was replaced with a healing abutment, and additional grafting was performed as needed. To stabilize the graft and prevent material from dispersing into the oral cavity, a loose collagen matrix (Aterocare) was placed over the grafted area, followed by additional sutures for secure closure.
Postoperative Result
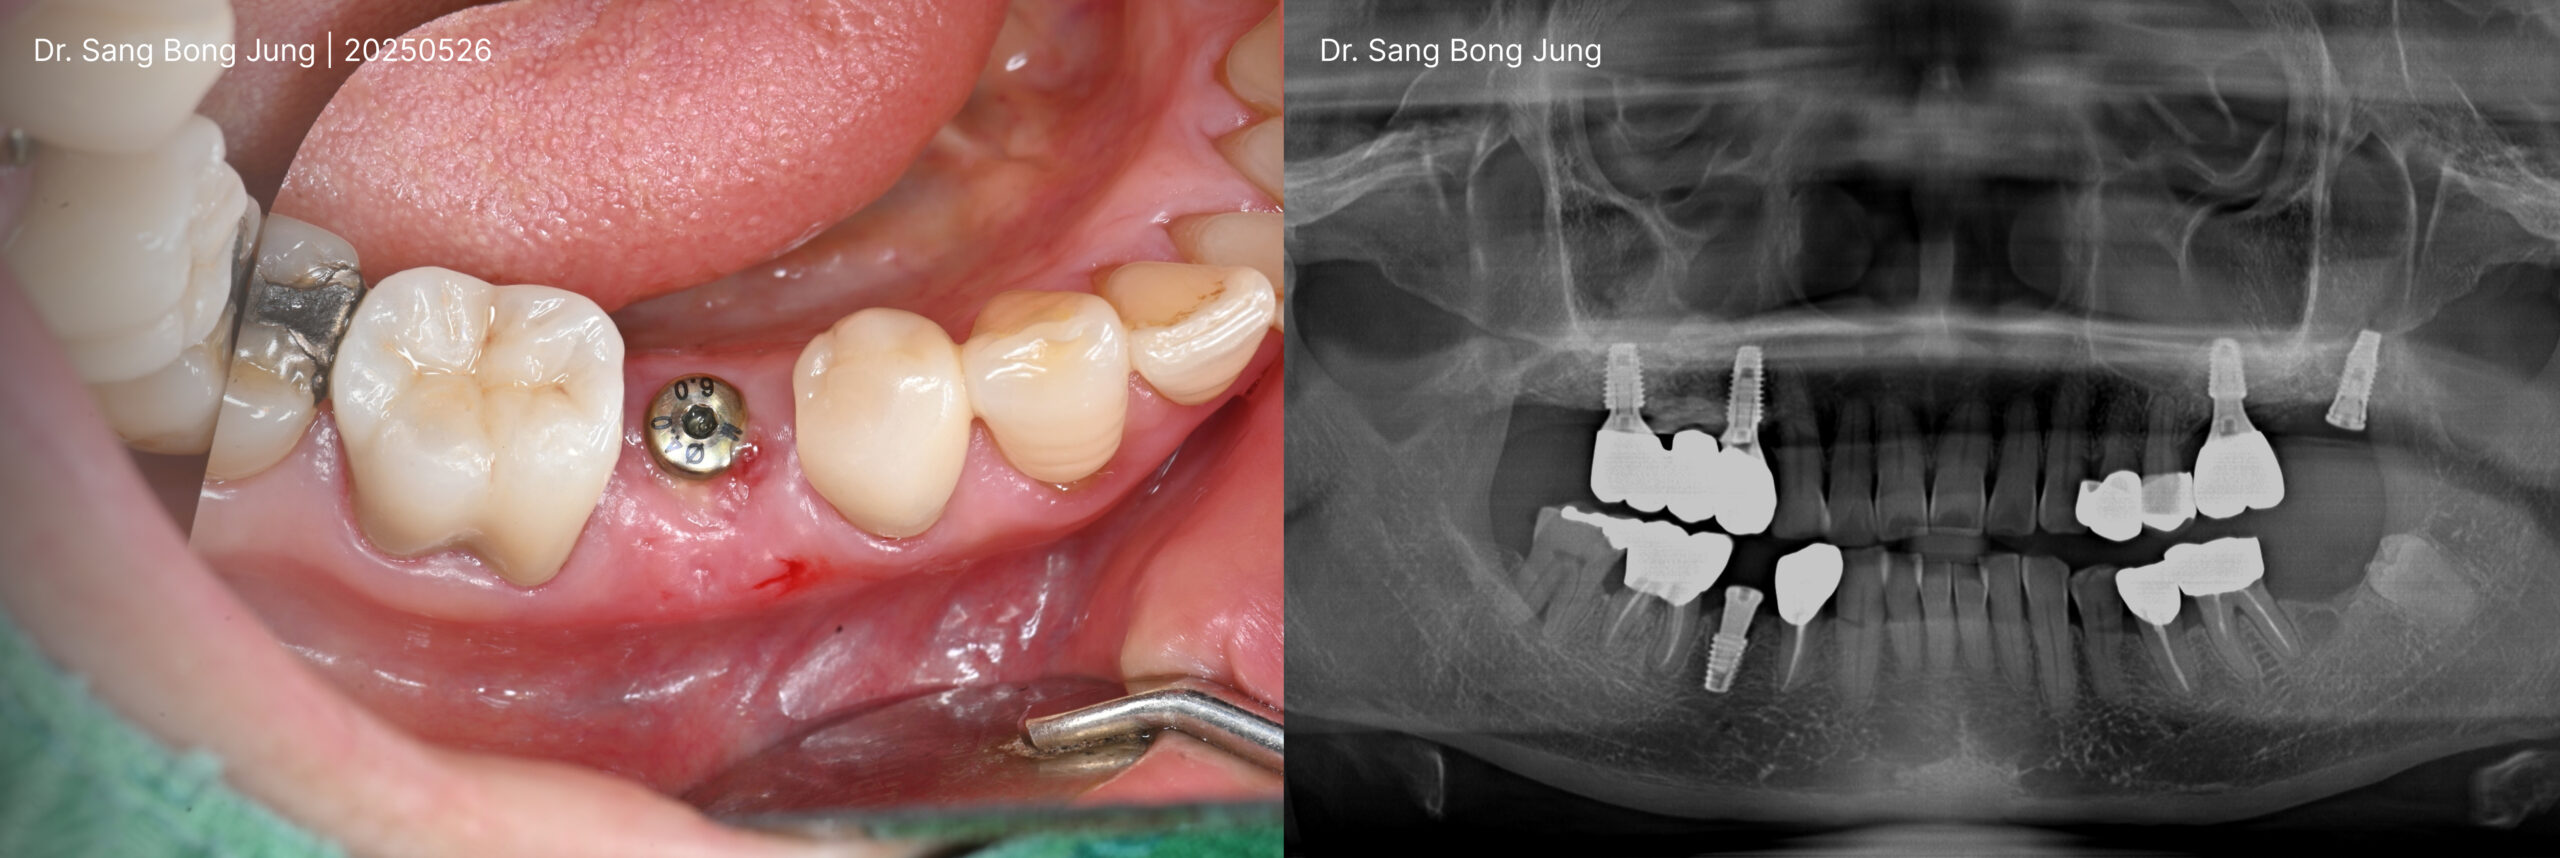
A final radiograph confirmed the implant was placed at the intended depth and angulation, with surrounding bone and soft tissue adequately supported by the grafting techniques.
Conclusion
This case highlights the importance of strategic grafting techniques in immediate implant placement. The combination of SQ Ø4.0 mini connection fixture, xenograft material, and connective tissue grafting allows for optimal esthetic and functional outcomes, even in challenging extraction socket scenarios. This case is a great example of how the right tools and techniques can transform a potential setback into a successful, long-lasting outcome.
If you’re interested in learning more about the tools and techniques used in this case, or how Dentis USA solutions can support your practice, contact info@dentisusa.com or shop at our newly launched e-shop, www.mydentishop.com.